Last Updated: 9th of September, 2018.
Before trying to fix a system error that assuredly annoys you, demands a lot of effort and technical knowledge which would be imperative to learn more about the nature of the issue that occurred.
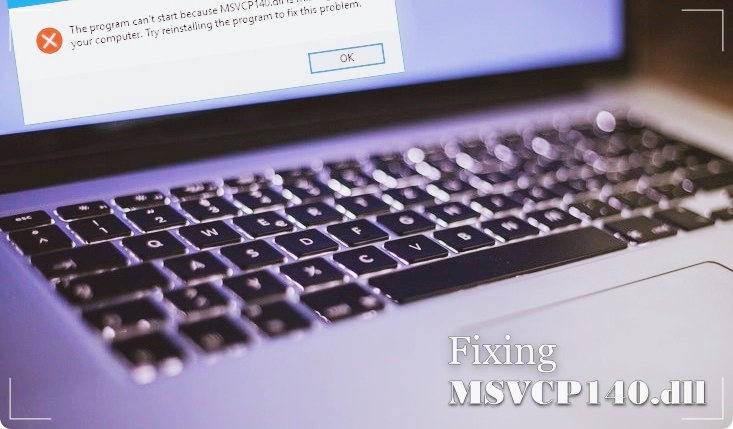
The MSVCP140.dll file that is deemed missing by a system is an essential constituent of the Visual C++ Redistributable for Visual Studio 2015. If due to some reason this file was corrupted or completely removed from your computer, you won’t be able to run any C++ application anymore.
From time to time, users experience this problem, when trying to run online games, telecommunication applications, or dealing with website creation tools. The MSVCP140.dll error message signalizes the corruption of the run-time file components, which prevents an application from operating correctly.
So, if you are encountering the MSVCP140.dll error on your Windows-based OS, we suggest trying the fixes provided below.
By Downloading A DLL-Files Fixer
The DLL-Files Fixer is a program that could potentially accommodate all required DLL files wholly, just by installing it. The “Dynamic Link Libraries or DLL” are the segment files that regularly point the finger to other data to be picked up during the installation process or when running a program or trying to play a game.
DLL Files Fixer is a responsive application deliberately developed to point out all affected files and fixes them for individual execution of commands. Though, the program uses an internet connection to locate the missed files to match a colossal inventory of proposed DLL files and user search (if known) for the data required.
Screen Shot No.01
Screen Shot No.02


Downloading “MSVCP140.dll”, Alone
It is also possible that the missing file that prevents you from launching applications has been completely deleted. In such a case, the only viable option to resolve the issue is to download MSVCP140.dll again.
There are a plethora of websites offering their help with downloading the file you need. Still, before downloading anything from the web, familiarize yourself with the feedback about the site you want to use, if available, and make sure they use HTTPS protocols so that the possible havoc may be avoided. By doing so, you will safeguard yourself from downloading malicious software, which is probably fraught with lots of undesirable consequences for your computer.
Once you get and unpack the necessary file on your computer, copy its content into
C: /Windows/System32 (for a 32-bit system)
OR
C:/Windows/SysWOW64 (for a 64-bit system) folder.
Reinstalling the Application
If the first option has not become much of a help, why not try reinstalling the application causing you so much trouble?
In case you have problems only with an individual program, reinstall it by doing the following:
- Right-click on “Start.”
- Click “Apps and Features,” then.
- Navigate through the list of the available programs to find the problematic one.
- Select the necessary program and click “Uninstall.”
Using “System File Checker”
If you are a responsible computer user, you have probably acquired “system file checker software” already. If not, we highly advocate doing so.
To launch your checker, you will need to right-click “Windows” and choose “Command Prompt (Admin).”
Once you are done, type “sfc /scannow” and press the “Enter” button. By doing so, you will prompt the system to detect the damaged files. Once the checker finds a corrupted file, it attempts to replace it with its “healthy” version provided by Microsoft. If your MSVCP140.dll were damaged in some way, the program would help you fix the problem very quickly.
Inattentiveness is something that may let the most experienced users down. The cases where people accidentally delete useful files and toss them in the“Recycle Bin“ are conventional. So before taking some radical actions, we recommend checking your bin for the missing MSVCP140.dll files. If you did, you would be able to recover them in no time. Just go to the Bin and type in the file name into the search box. Once you find it, don’t hesitate to select it and click “Restore.” Now your problem application should work properly.
I hope the tutorial worked for you. Good luck!
Author’s Bio
Jav Zeb is a young and spirited British author with an expertise in the tutorial writing and product reviewing. She has completed AAT from London School of Business and Finance, Birmingham. Interests: Drawing, Painting, Blog Writing, Interior Decor, and Reading. Living in: Erdington, Birmingham, West Midlands, UK. You may reach her at [email protected].